How to Get Wrinkles Out of a New Shirt
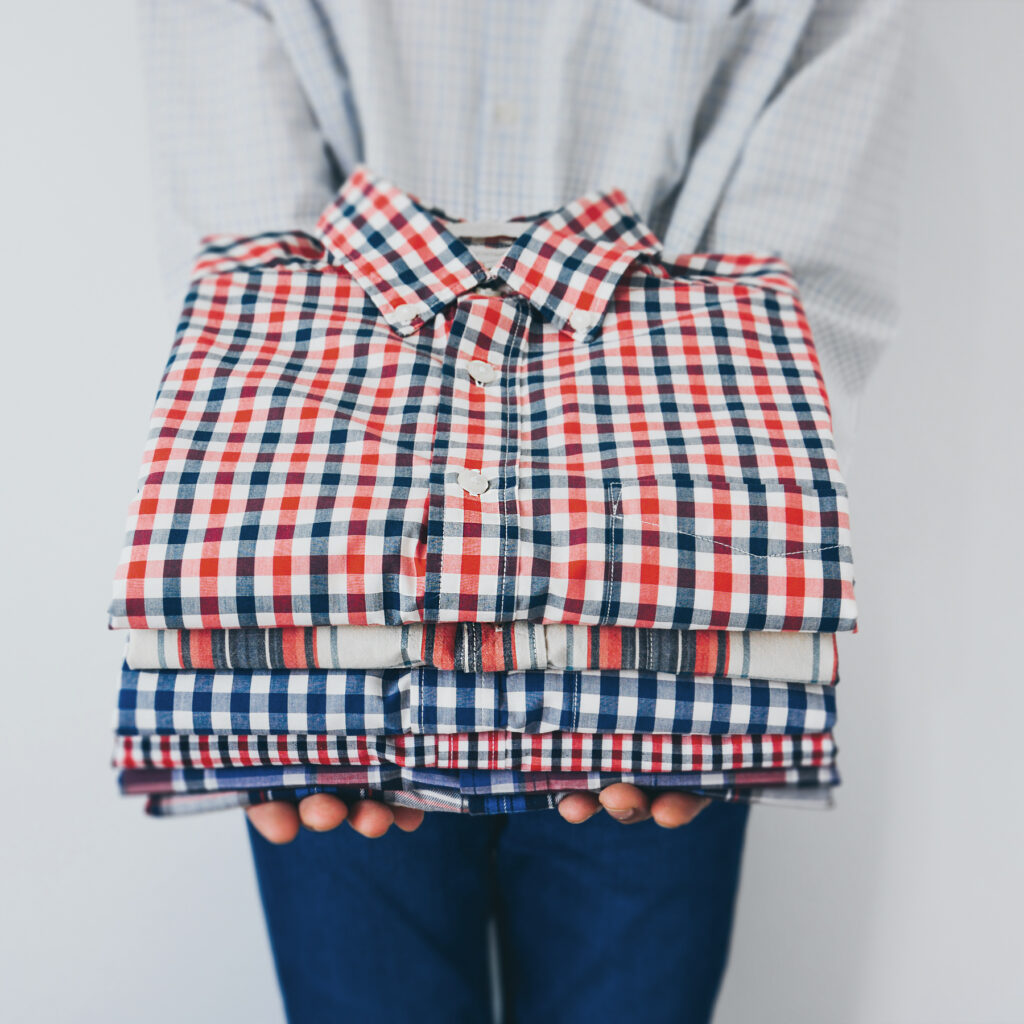
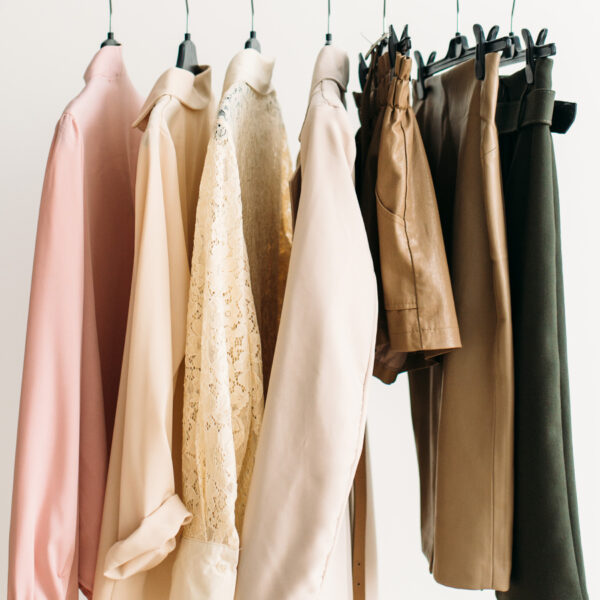
Upgrading your wardrobe with a dressy new shirt is a step toward making the right impression in your adult life post-grad. More than likely, your shirt arrived looking crisp and folded, but those folds left sharp, unsightly creases you can’t be seen wearing in public.
This shirt may represent your first article of clothing that needs regular ironing, and that’s okay. In fact, many college graduates are unsure of how to iron a shirt, and instead will throw their button-downs and dress shirts in the dryer in hopes of eliminating some of the wrinkles. The following tips will help you get beyond the amateur dryer fluff technique to achieve a clean, professional look in five minutes or less.
Preparation:
For a new shirt that hasn’t been washed yet, the best way to get wrinkles out is to use starch. Original works best on the shirt body, but you’ll want to use heavy starch on the cuffs and collar. Starch works best on a heat setting of 6 or lower to avoid flaking.
Collar:
Pop the collar up and lightly spray with starch. Allow the starch to soak in for a few seconds, then press across the inside of the collar from tip to tip. Flip the shirt over and do the same thing to the outside of the collar.
Cuffs:
Unbutton the first cuff and lay it flat on the ironing board. Spray lightly with starch, then press from edge to edge, being careful not to iron over buttons. Flip the cuff over like you did the collar and repeat the process. Do this for both cuffs.
Sleeves:
This can be the trickiest part of the shirt to iron, as you’ll need to iron through two layers of fabric. The key here is to make sure both layers are smoothed out before applying the iron. If you need your shirt to stay wrinkle-free, use a light layer of starch. Otherwise, you can use steam to assist.
Lay the sleeve flat on the ironing board with the seam running along the bottom of the sleeve (not the middle). Start pressing at the top and work your way down to the cuff. If you want a crisp crease down the outside of your sleeves, press the iron along the top edge of the sleeve. If not, just skip ironing over the very outside of the sleeve or insert a rolled towel into the sleeve before you iron.
Back/shoulders:
Open the shirt and lay it over the square edge of the ironing board so that the shoulders fit over the square edges. If the back of your shirt has a box pleat, and you want to emphasize that, pinch the top of the pleat and pull down gently to get the pleat in place, then press. Work your way slowly from the top of the shirt down to the bottom, using starch to make the process faster and easier. Slide the shirt over the board as needed, but don’t worry about getting all the way around to the front until the back is completed.
Front:
Begin with the side that has buttons and carefully press between each set of buttons. Never place the iron directly over a button. Next, slowly work your way from the shoulder to the bottom of the shirt until the wrinkles are eliminated. Do the same on the other side. If your shirt has a placket (folded fabric where the button holes are), iron both the front and back since this area of your shirt is always visible.
Final review:
Inspect the results and touch up any leftover wrinkles. When finished, immediately hang the shirt on a hanger to preserve your hard work.